Air Dome Kit (From Autopot USA)
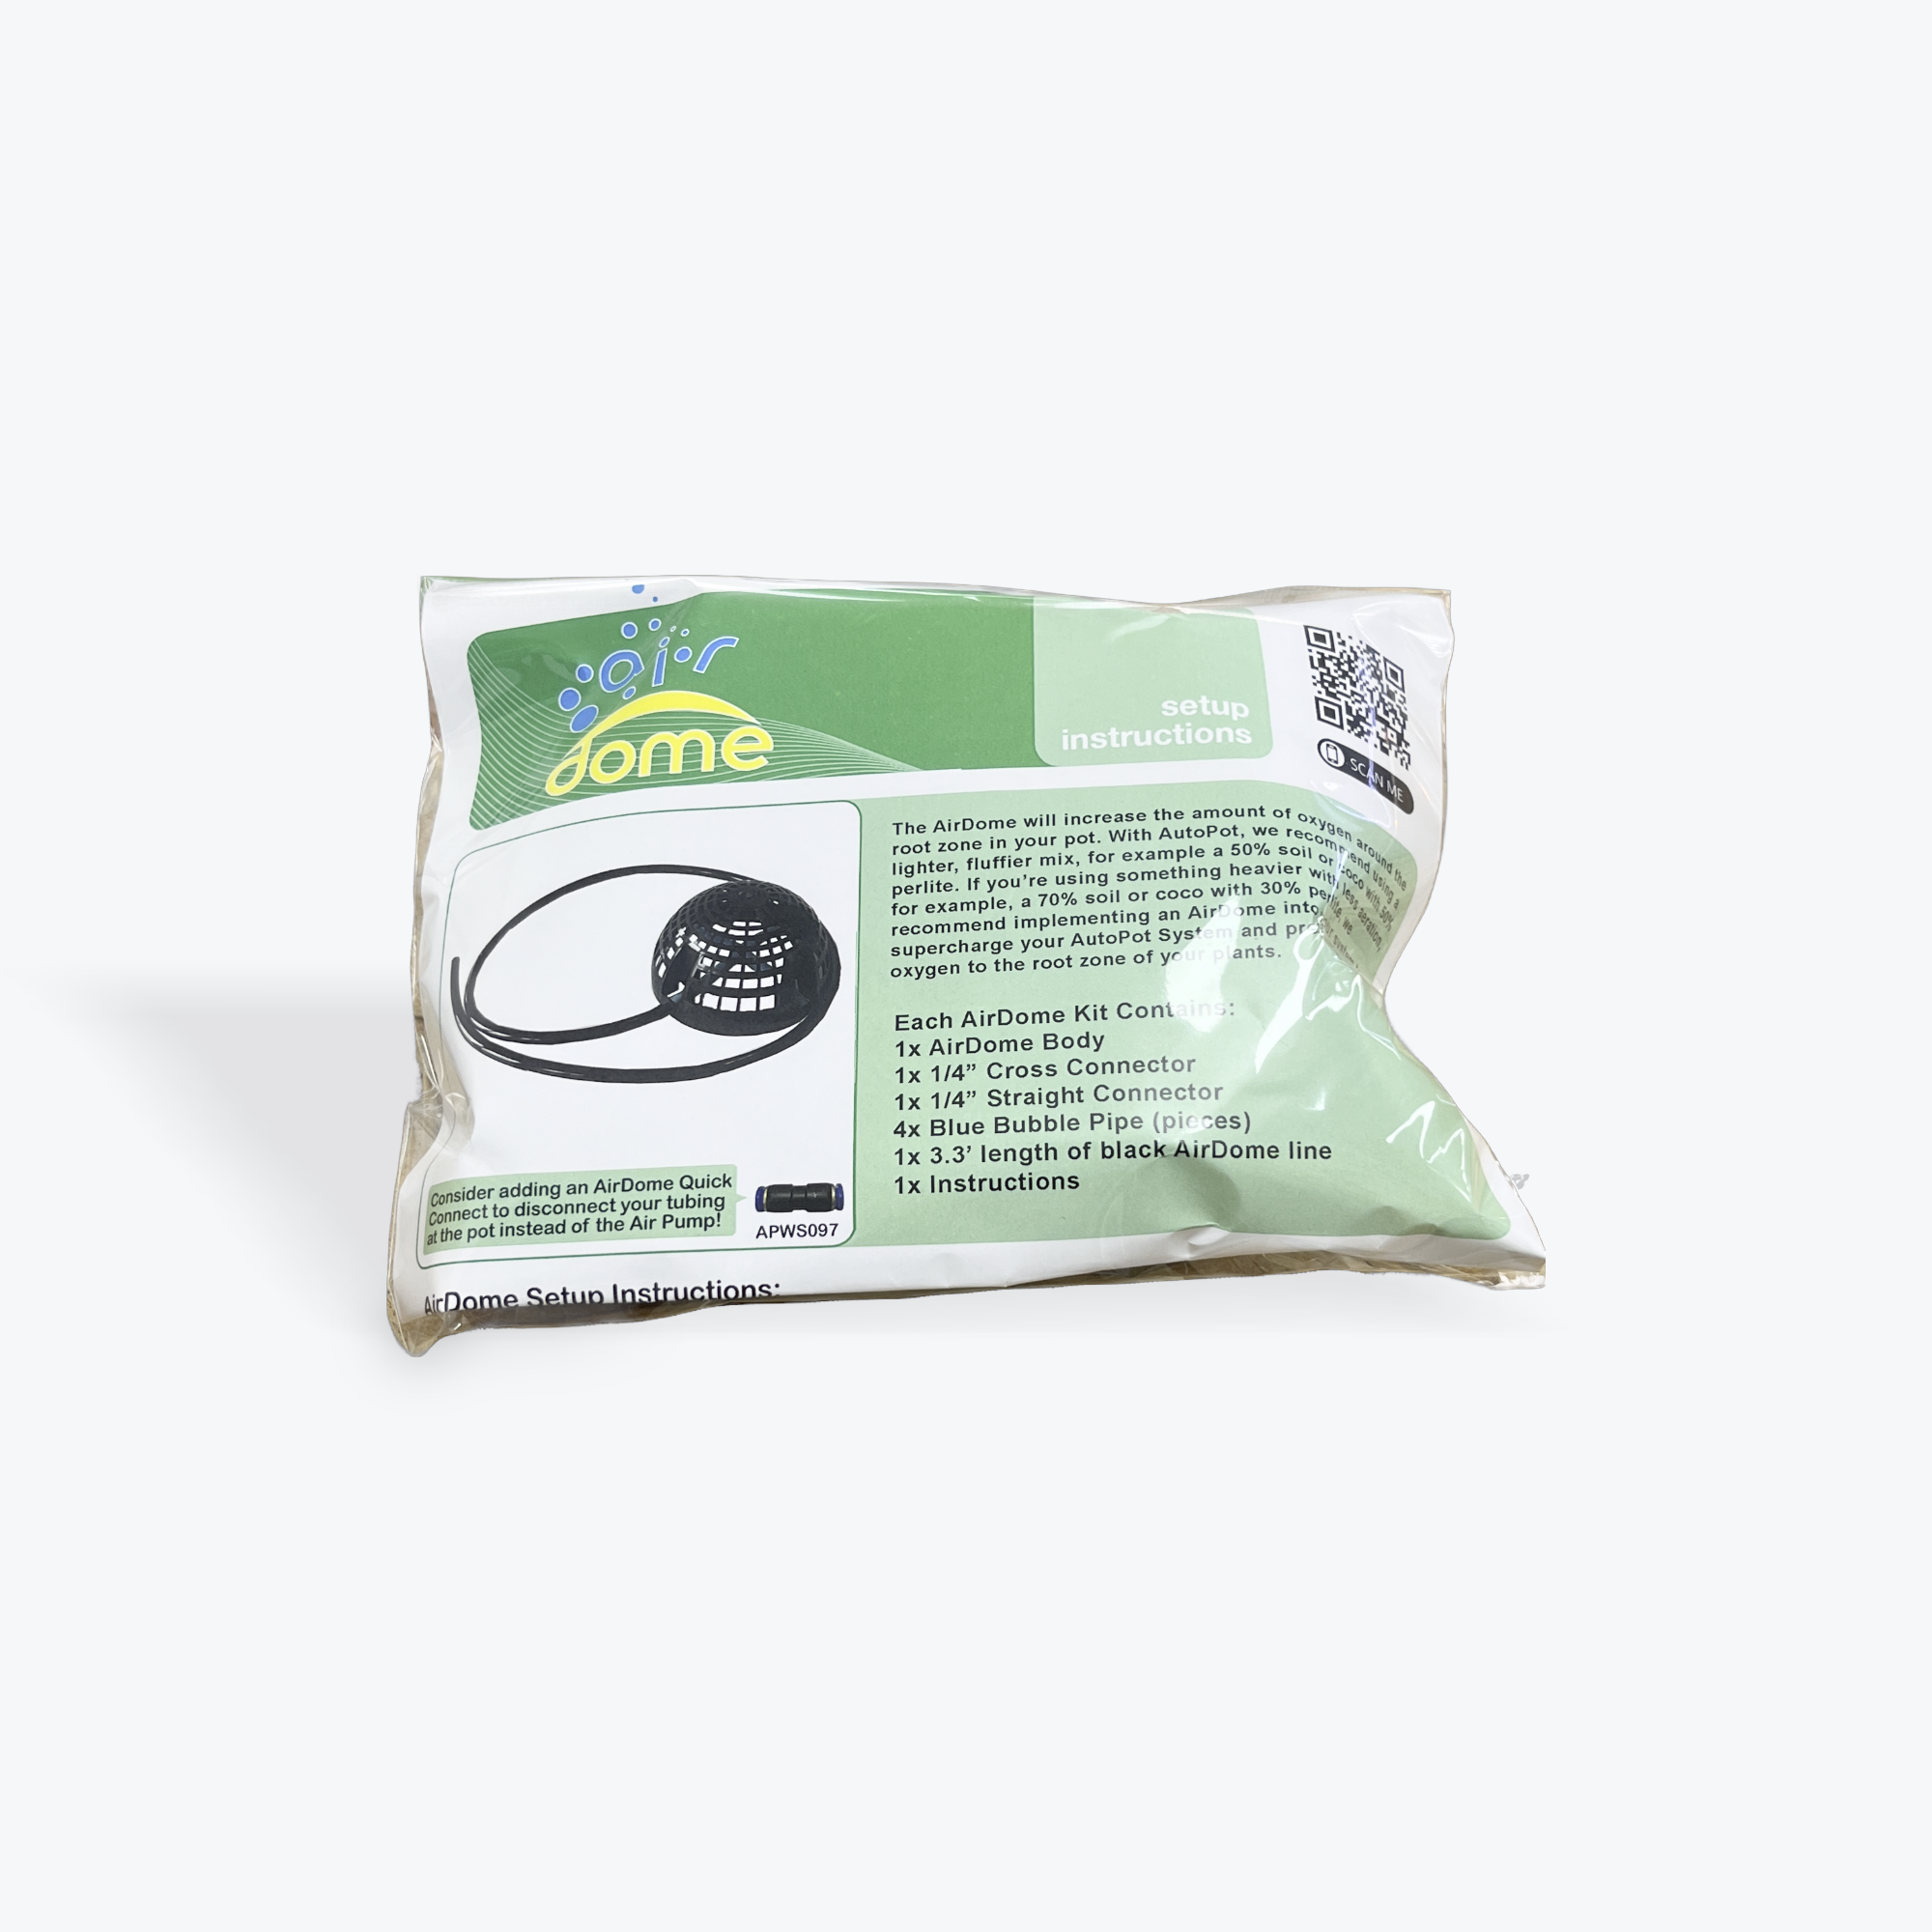
1x AirDome Body
1x ¼” Cross Connector
1x ¼” Straight Connector
4x Perforated Bubble Pipe pieces
1x 3.3’ of AirDome piping
1x Instructions
The AirDome will increase the amount of oxygen around the root zone in your pot. When growing in AutoPot, we recommend using a lighter, fluffier mix, for example a 50% soil or coco with 50% perlite. If you’re using something heavier than that with less aeration, for example a 70% soil or coco with 30% perlite, we highly recommend implementing an AirDome into your system to supercharge your AutoPot System and provide adequate oxygen to the root zone of your plants.
AirDome Assembly/Installation:
Take the ¼” Cross Connector and attach the 4x perforated bubble pipe pieces to it.
Connect all four ends of the perforated bubble pipe to the four connection points inside the AirDome
Connect the AirDome piping to the outside point of the AirDome. Pro Tip: Dip the AirDome piping in hot water to soften the pipe and allow for an easy connection onto the AirDome.
AirDome Placement
AirBase Placement: Place your AirDome on top of your root control material at the base of your pot. Set the AirBase on top of the AirDome. Feed the AirDome piping through the notches on the underside of the AirBase to hold in place and feed up the corner of the pot. Pour your blended substrate on top to fill the pot.
Standard Placement: Place your AirDome on top of your root control material at the base of your pot. Pour drainage layer material (perlite no3, clay pebbles, hydroton) around the AirDome to a depth of 1”. Pour your blended substrate on top to fill the pot.
AirDome Operation Tips:
Each AirDome requires 15 GPH so ensure you get the proper sized air pump. Too strong of a pump will cause air bubbles underneath the pot which will travel into the tray and can disrupt the aquavalve.
Do not activate your AirDomes right away. Allow 2-3 weeks for the plants to establish before turning on.
The AirDome should only be switched on during daylight periods. It is recommended to run the AirDomes with your lights so they turn on and off with your lights.
Always ensure warm air is blown through the AirDome. Tempeartures below 41F and above 86F may damage roots.
Raise your air pump away from cold floor surfaces and place at a higher level than the AirDomes to prevent water from siphoning back when the air pump is off. Alternatively, you can install a non-return valve.